Renaming master to main on GitHub and Heroku
Published 3 August, 2020; last updated on 3 August, 2020.
It might seem like a small thing, but a lot of cultural racism, sexism and homophobia is built from things which seem small to a lot of people.
It’s been pointed out that the widespread use of words like “master”, “slave”, and “blacklist” in tech is problematic.
I’m removing them from projects I work on, and I encourage you to do the same.
One of the most pervasive uses of the word “master” in my work is as the name of the main branch in git. In most cases, there’s no special reason for this name.
Here’s how I moved from “master” to “main” in my projects which use GitHub and Heroku pipelines.
Step 1: Create the main branch
git fetch
git rebase origin/master master
git branch --move master main
git push --set-upstream origin main
Update: The main branch will be created from your local master branch, which may not be up-to-date with your remote master! I’ve added a couple of commands above to make sure your local master is up-to-date.
Step 2: Set up main as the default branch
Open your repository in GitHub, and navigate to Settings > Branches. Change the default branch to main. Update any branch protection rules you might have in place while you’re here.

Step 3: Reconfigure CI
Now that your main branch is in place, you may need to reconfigure your CI. I’m using GitHub Actions, so I needed up update some triggers so they referred to “main” instead of “master”.
name: Django
on:
  pull_request:
    branches:
      - "*"
  push:
    branches:
      - "main"
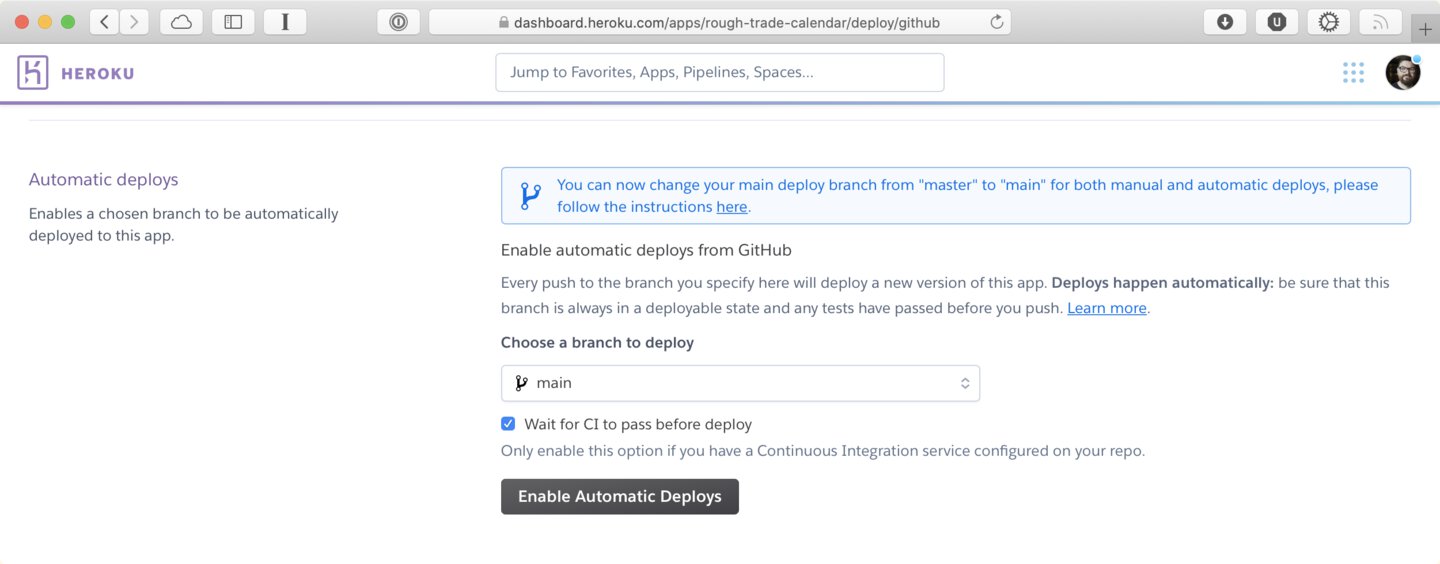
Step 4: Reconfigure Heroku to deploy from main
Open the Heroku dashboard and navigate to your production app.
Under the Deploy tab, find the Automatic Deploys section and click the Disable Automatic Deploys button. You’ll now be able to re-set up automatic deploys from main.

Step 5: Delete the master branch
Finally, delete the master branch.
git push origin --delete master